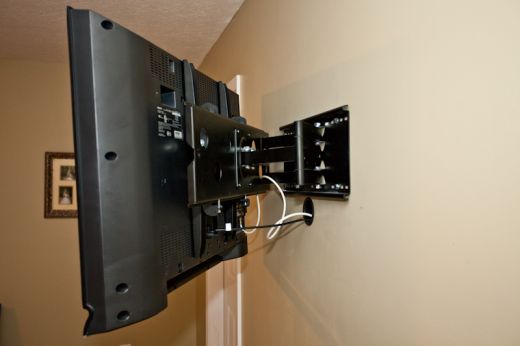
How to wall mount a TV
There a number of dos and don’ts though, such as refraining from mounting your TV over a fireplace. To help you avoid those common mistakes and overcome any obstacles that may arise (life has a habit of breaking from the script, after all) I’ve put together this expert list of tips and tricks, as well as a short instructional video.
- Take off covers: If you can’t locate the studs with a stud finder, locate an outlet on the wall (or any other fixture, like a cold air return). All outlets are attached to studs, unless they were added after the wall was up (not common). By taking off the wall plate, you can stick a thin tool into the gap between the side of the electrical box and the drywall, and then feel which side the stud is on. From there, measure over 16 inches and you should find another stud. Keep going 16 inches at a time until you are in the area where you want to mount the TV. Then use a small tool to poke a hole in the wall to see if a stud is actually there.
- Make your own holes: What if you found studs, but they don’t line up with the holes on your bracket? Easy: Make holes on the wall bracket. The best way to do this is to use a step drill bit (like an Irwin Unibit) and a powerful drill. A good step drill bit will quickly cut through a steel wall mount.
- Use a toggle: If there simply aren’t any studs where you want to mount the TV, then you need to use some sort of hollow wall anchor. These can be extremely strong, but as a general rule should not be used with full-motion, or articulating, mounts. The quarter-inch Snaptoggle is hands down the best hollow wall anchor on the market, and a few of them can comfortably hold new 55-inch TVs on a single sheet of drywall. Mounting a TV on drywall or plaster without attaching to a stud can be a very safe and reliable solution IF you know the limits of the wall and the toggles. As a professional home theater installer, I’ve used toggles many times and never had a TV fall off the wall. We know of other installers who overestimated the strength of the wall and ended up with a TV on the ground. In the end, if you aren’t comfortable performing the install, consider hiring a professional.
Nothing ruins the look of a nice TV mounted on the wall quicker than a tangle of exposed wires. Luckily, hiding cables inside the wall is fairly cheap and easy. The simplest way to achieve this is with an IWPE (in-wall power extension) or a power bridge kit. These kits come with everything you need to run power up to your TV while hiding all of your signal wires (some even come with a cutting tool). You might be thinking.
You may not need the extra HDMI ports on your TV now, but you may want to add components to your home theater system in the future. Put in extra HDMI cables and run them through the wall so that you have them when you need them.
An IWPE is exactly what it sounds like, an extension cord rated to go inside the wall. In the end, you will have an outlet behind your TV, and what’s called an inlet down by the floor (at the same height as your other outlets). In order to provide power to the kit, you connect an extension cord from an existing outlet to the inlet. Confused? Check out these diagrams.
Before you begin installation, ensure your low-voltage cables are rated for in-wall use. The next thing to know about IWPE kits is that they come with a predetermined length of electrical wire, typically 6 to 8 feet. Also note that they should be used only in a single stud bay, and they are not designated for use above a fireplace. Of course, these limitations can be overcome or ignored, but we don’t recommend bending the rules.
If you can’t hide cables inside the wall, then try installing a paintable wire channel. Most of these simply stick to the wall and allow you to hide all of your cables inside, providing for a clean look. Just know that when you remove the wire channel, you will likely also remove the paint.

Do you have any news or article you would like us to publish? Kindly reach us via outreach@t4d.co.ke or howtodoafrica@gmail.com.


