

How to create a custom table of contents in Word
Format or customize a table of contents
Change the layout of your table of contents
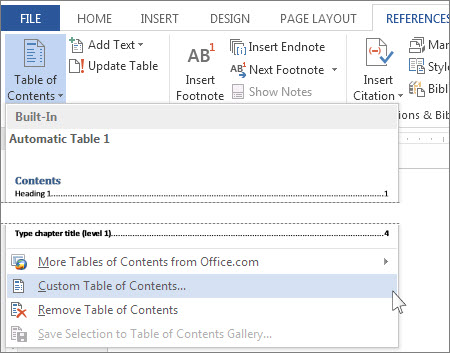
- On the References tab of the Ribbon click Table of Contents > Custom Table of Contents.
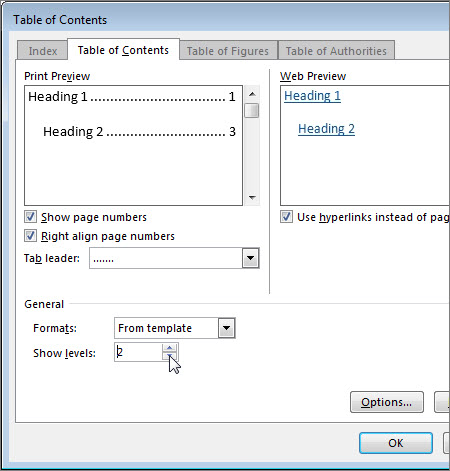
- Make your changes in the Table of Contents dialog box. You’ll see what they look like in the Print Preview and Web Preview areas.
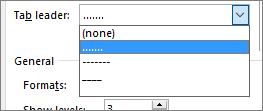
- To add a dot leader, or dotted line, between each entry and its page number, click the Tab leader list and then click the dotted line. You can also choose a dash leader or remove the leader entirely and just have a blank space.
- To change the overall appearance of your table of contents, click the Formats list, and then click the format that you want.
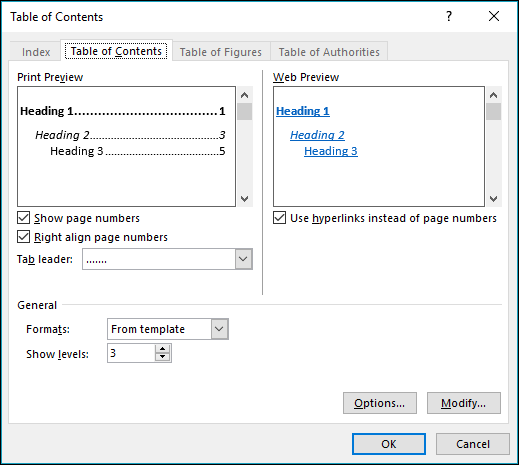
- To change the number of levels displayed in your table of contents, click Show levels, and then click the number of levels you want.
- To add a dot leader, or dotted line, between each entry and its page number, click the Tab leader list and then click the dotted line. You can also choose a dash leader or remove the leader entirely and just have a blank space.
- Click OK.
Format the text in your table of contents
To change how the text in your table of contents looks, change the style for each level in the table of contents.
- On the References tab of the Ribbon click Table of Contents > Custom Table of Contents.
- In the Table of Contents dialog box, click Modify. If the Modify button is grayed out, change Formats From template.
- In the Styles list, click the level that you want to change and then click Modify.
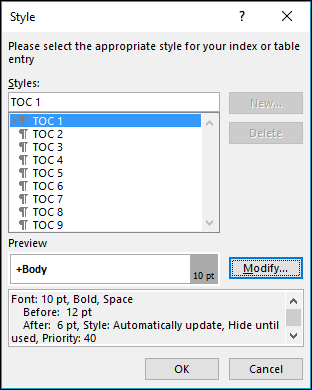
- In the Modify Style dialog box, make the formatting changes that you want, and then click OK.
-
Repeat steps 3 and 4 for all the levels that you want to display in your table of contents.

Do you have any news or article you would like us to publish? Kindly reach us via outreach@t4d.co.ke or howtodoafrica@gmail.com.


")


